
Singer Sewing Machine User Manual: A Comprehensive Guide
Discover a wealth of resources for your Singer machine, including downloadable manuals like the 15-91, 15K, and 15K1. Explore guides for models like the Heavy Duty 4452, offering 32 stitches and robust performance.
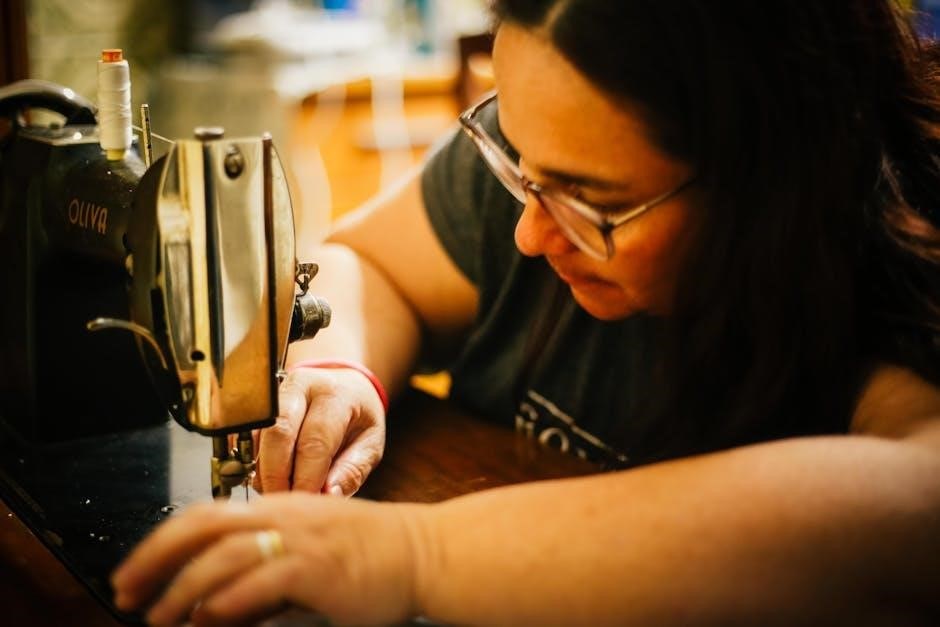
Singer sewing machines boast a rich heritage, evolving from pioneering innovations to modern, versatile tools for every seamstress and tailor. For generations, Singer has been synonymous with quality, durability, and user-friendly design, empowering countless individuals to bring their creative visions to life. This comprehensive guide aims to unlock the full potential of your Singer machine, regardless of whether you’re a beginner embarking on your sewing journey or an experienced artisan seeking to refine your skills.
From the earliest mechanical models like the 15-88, designed for foot power, to the powerful Heavy Duty 4452 with its robust metal frame and 60% stronger motor, Singer offers a diverse range of machines to suit every need and project. Understanding your specific model is crucial, and this manual will guide you through identifying its features and capabilities. Accessing the correct manual – whether a PDF like the 15-91 or 15K versions – is the first step towards mastering your machine. Singer’s commitment extends beyond the initial purchase, providing ongoing support through warranty services, machine updates, and readily available stitch guides.
Understanding Your Specific Model
Identifying your Singer sewing machine model is paramount to accessing the correct resources and maximizing its functionality. Singer offers a vast array of machines, each with unique features and capabilities. Models like the Heavy Duty 4452, for instance, are designed for tackling thicker fabrics with its enhanced piercing power and high sewing speed – up to 1,100 stitches per minute. Conversely, older models such as the 15-88 were intended for foot-powered operation.
Locate the model number, typically found on a sticker or plate on the machine itself. Once identified, you can download the corresponding user manual (e.g., 15-91, 15K, or 15K1 PDF versions) from Singer’s official website or authorized support channels. These manuals provide detailed instructions specific to your machine, covering everything from threading and bobbin winding to stitch selection and troubleshooting. Familiarize yourself with the available stitches – the Heavy Duty 4452 boasts 32 built-in options – and understand the purpose of each presser foot. Knowing your machine’s nuances will unlock its full potential and ensure successful sewing projects.

Key Components and Their Functions
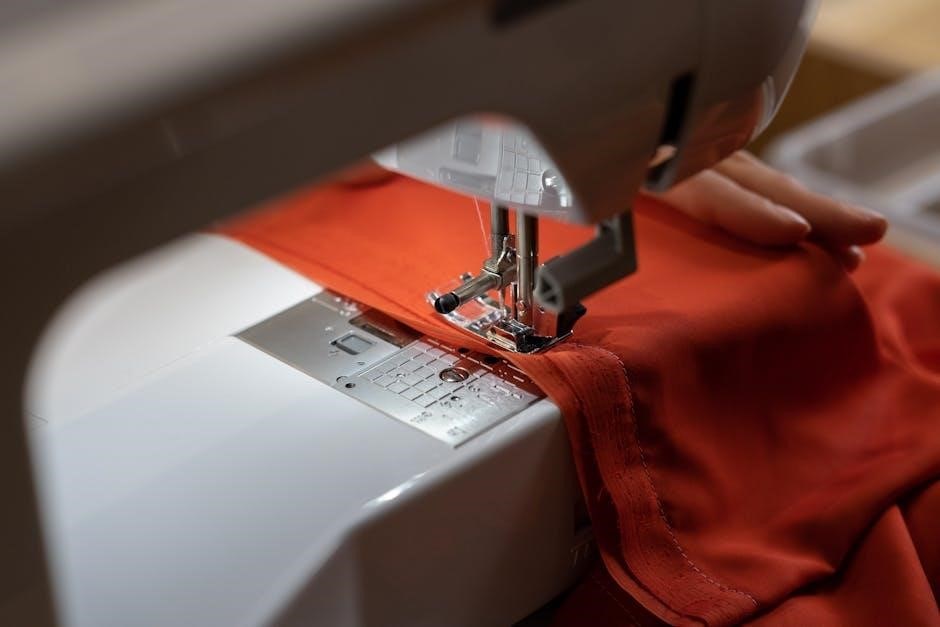
Essential to operating your Singer sewing machine is understanding its core components. The presser foot, changeable for various techniques, applies pressure to the fabric while sewing. The bobbin, housed beneath the needle plate, provides the lower thread, interlinking with the upper thread to form stitches. The needle, crucial for stitch formation, requires careful selection based on fabric type – Singer recommends branded needles for optimal performance.
The stitch length and width controls dictate the appearance of your stitches, offering customization for different projects. The tension dial regulates the balance between upper and lower threads, preventing puckering or looping. Many models, like the Heavy Duty 4452, feature an interior metal frame for durability and a powerful motor for speed. Understanding how these components interact is vital. Refer to your specific model’s manual (15-91, 15K, etc.) for detailed diagrams and explanations of each part’s function, ensuring smooth and efficient operation.
Setting Up Your Singer Sewing Machine
Before beginning any sewing project, proper setup is paramount. First, ensure your machine is placed on a stable, level surface. Connect the power cord and switch the machine on, familiarizing yourself with the power switch location. Next, install a suitable needle, consulting your manual (like the 15-91 or 15K) for the correct type for your fabric.

Crucially, wind the bobbin with thread, following the step-by-step guide in your manual. Insert the bobbin correctly into the bobbin case, ensuring it moves freely. Thread the upper thread, carefully following the numbered threading path – a common source of issues if skipped. Select the appropriate presser foot for your intended stitch and fabric. Finally, adjust the stitch length and width to your desired settings. Remember, reading the full manual for your specific Singer model (including Heavy Duty 4452) is essential for a successful setup and optimal performance.
Threading the Machine: A Step-by-Step Guide
Correct threading is vital for smooth sewing. Begin by raising the presser foot; this opens the tension discs. Place the spool of thread on the spool pin. Guide the thread through the first thread guide, then down and around the tension discs – ensuring it seats firmly between them.
Next, continue threading through the take-up lever, then down and around the second thread guide. Follow the numbered diagram in your Singer manual (refer to models 15-91, 15K, or the Heavy Duty 4452) to thread the needle from front to back. Pull several inches of thread through the needle. For optimal results, always use Singer branded thread. Incorrect threading causes skipped stitches and tension problems; Double-check each step against your manual’s illustrations. A properly threaded machine, as detailed in the manual, ensures consistent stitch formation and prevents frustrating issues during your sewing projects.

Winding and Inserting the Bobbin
Proper bobbin winding is crucial for consistent stitch quality. Place the spool of thread on the spool pin and guide the thread through the bobbin winding tension disc. Attach an empty bobbin to the bobbin winder spindle. Engage the bobbin winder by pushing it to the right.
Press the foot pedal gently to start winding; the machine will automatically stop when full. Once wound, disengage the bobbin winder and remove the bobbin. Consult your Singer manual (models 15-91, 15K, Heavy Duty 4452) for specific winding instructions. To insert the bobbin, open the bobbin case cover. Place the bobbin into the case, ensuring the thread unwinds in the correct direction – typically counter-clockwise. Guide the thread through the tension spring. A correctly inserted bobbin, as illustrated in your manual, is essential for balanced stitch formation and prevents thread bunching. Always refer to your model’s manual for precise details.
Basic Stitch Selection and Adjustment
Singer sewing machines offer a variety of built-in stitches for diverse projects. The stitch selection dial, detailed in manuals like those for the 15-91 and Heavy Duty 4452 models, allows you to choose from straight stitch, zigzag, and decorative options. Refer to your machine’s stitch guide for visual representations of each stitch and its intended use.
To select a stitch, rotate the dial to the desired number or symbol. Ensure the dial clicks into place. For basic sewing, the straight stitch is ideal for seams, while zigzag is suitable for finishing raw edges or creating stretch stitches. Experiment with different stitches to achieve varied effects. Understanding stitch functionality, as outlined in your user manual, unlocks creative possibilities. Remember that the SINGER M2105 also has stitch selection options. Always test your chosen stitch on scrap fabric before starting your project to confirm the desired outcome.
Adjusting Stitch Length and Width
Precise control over stitch length and width is crucial for achieving professional-looking results. Your Singer sewing machine, whether a classic 15-91 or a modern Heavy Duty 4452, features dials or buttons to adjust these parameters. The stitch length dial determines the distance between each stitch, impacting the strength and appearance of the seam. Shorter stitch lengths are ideal for delicate fabrics and curves, while longer lengths are suitable for basting or heavier materials.
Stitch width controls the breadth of zigzag stitches and decorative patterns. Increasing the width creates a wider stitch, useful for securing edges or adding embellishments; Consult your machine’s manual – including resources for the SINGER M2105 – for specific dial markings and recommended settings for different fabrics and applications. Always test adjustments on scrap fabric before sewing your project. Proper adjustment ensures optimal stitch formation and prevents puckering or fabric damage. Mastering these controls elevates your sewing precision.

Using Different Presser Feet
Expanding your Singer sewing machine’s capabilities relies heavily on utilizing the correct presser foot. Beyond the standard all-purpose foot, a variety of specialized feet unlock diverse sewing techniques. Zipper feet facilitate smooth zipper insertion, while buttonhole feet automate precise buttonhole creation. For delicate fabrics like satin or silk, a roller foot minimizes friction and prevents snagging. When working with thicker materials such as denim – a strength of the Heavy Duty 4452 – an even feed foot ensures consistent fabric layers.
Accessory presser feet, available for purchase, broaden your creative options. Consider a gathering foot for creating ruffles or a blind hem foot for invisible hems. Refer to your Singer manual (like those for models 15-91 or 15K) for compatibility and proper installation. Correct foot selection significantly impacts stitch quality and project outcome. Explore Singer’s range of accessories to enhance your sewing experience and tackle any project with confidence.
Troubleshooting Common Issues
Encountering occasional hiccups with your Singer sewing machine is normal. Thread bunching underneath the fabric often indicates improper threading – revisit the threading guide in your manual (15-91, 15K, or model-specific guides). Skipped stitches can stem from a dull or incorrectly inserted needle; ensure you’re using a Singer-branded needle appropriate for your fabric. If the machine jams, immediately stop and carefully remove the fabric and bobbin, checking for tangled threads.
For issues with stitch tension, consult the manual’s tension adjustment section. Uneven stitches might signal a need for cleaning and oiling, as detailed in the maintenance section. The Heavy Duty 4452, with its stronger motor, may require slightly different tension settings for heavier fabrics. Remember to always unplug the machine before performing any maintenance or troubleshooting. If problems persist, consult Singer’s support resources or warranty information for further assistance.
Needle Selection and Replacement
Choosing the correct needle is crucial for optimal sewing performance. Singer recommends using Singer-branded needles with your machine (like those for the Heavy Duty 4452) to ensure compatibility and longevity. Needle size corresponds to fabric weight; finer fabrics require smaller needles (e.g., size 60/8), while heavier fabrics like denim demand larger sizes (e.g., size 90/14 or 100/16). Different needle types exist for specific fabrics – universal, ballpoint (for knits), and leather needles.
To replace the needle, always unplug the machine. Loosen the needle clamp screw, remove the old needle, and insert the new one with the flat side facing the back. Tighten the screw securely. A bent or damaged needle can cause skipped stitches, fabric damage, and even machine malfunction. Regularly inspect your needle and replace it when dull or bent. Refer to your model’s manual (15-91, 15K, etc.) for detailed instructions and diagrams specific to your Singer machine.
Maintaining Your Singer Sewing Machine
Regular maintenance ensures your Singer sewing machine provides years of reliable service, much like the classic 15-88 models designed for lifetime use. Consistent cleaning is paramount; remove lint and dust from the bobbin area and feed dogs after each use. This prevents jams and ensures smooth fabric feeding. For the Heavy Duty 4452 and other models, a thorough cleaning schedule should be established.
Oiling key components, as detailed in your specific model’s manual (15-91, 15K, etc.), is vital. Focus on areas indicated in the diagram, avoiding over-oiling. Use only sewing machine oil – never household oil. Inspect belts for wear and tear, and replace if necessary. Proper maintenance, alongside using genuine Singer accessories like needles, contributes to optimal performance. Refer to warranty information and support resources for further guidance on keeping your machine running smoothly.

Cleaning and Oiling
Maintaining a clean sewing machine is crucial for optimal performance, extending the life of models like the Singer Heavy Duty 4452 and vintage machines such as the 15-91. Regularly remove lint, dust, and thread fragments from the bobbin area, feed dogs, and around the needle plate. A small brush is ideal for these delicate areas. For a deeper clean, consult your model’s manual (15K, 15K1) for specific instructions.

Oiling is equally important. Apply sewing machine oil – never household oil – to the designated points outlined in your manual. These typically include the motor, gears, and moving parts. Avoid over-oiling, as excess oil attracts dust. Use a drop or two on each point. Consistent cleaning and oiling, alongside using genuine Singer needles, will ensure smooth operation and prevent issues. Remember to disconnect the power before cleaning or oiling your machine.
Understanding Machine Settings (Speed, Tension)
Mastering speed and tension controls is vital for achieving professional-looking results with your Singer sewing machine, whether it’s a modern Heavy Duty 4452 or a classic 15-91. Speed control allows you to adjust the sewing pace, crucial for intricate work or when learning. Start slowly and gradually increase speed as your confidence grows.
Tension, however, is more nuanced. Proper tension ensures balanced stitches; too loose, and the thread will pull through the fabric, while too tight can cause puckering or breakage. Refer to your manual (15K, 15K1) for specific tension adjustment guidance. Test stitch on scrap fabric after each adjustment. Factors like thread type and fabric weight influence optimal tension. Understanding these settings, alongside using correct needles, guarantees consistent stitch quality and prevents frustration. Experimentation and practice are key!

Advanced Stitching Techniques
Beyond basic straight stitches, your Singer machine – be it a Heavy Duty 4452 or a vintage model like the 15-91 – unlocks a world of advanced techniques. Explore decorative stitches, utilizing the 32 built-in options on newer models, to embellish projects. Mastering zigzag stitches allows for serging edges and creating stretch seams.
Consider techniques like free-motion quilting, requiring a darning foot and dropped feed dogs for unconstrained fabric movement. Appliqué, using various presser feet, enables intricate designs. Buttonholes, often automated on modern Singers, demand precise settings. Refer to your manual (15K, 15K1) for stitch-specific guidance. Experiment with different thread weights and needle types to achieve desired effects. These techniques, combined with consistent practice, elevate your sewing from functional to artistic, maximizing your Singer’s potential.
Safety Precautions and Warnings
Prioritize safety when operating your Singer sewing machine, regardless of model (15-91, 15K, Heavy Duty 4452). Always disconnect the power supply before threading, changing the needle, or performing any maintenance. Keep fingers away from the needle while the machine is running; serious injury can occur.
Never force the fabric under the needle – gentle guidance is sufficient. Use the correct needle for the fabric type to prevent breakage and potential hazards. Be mindful of the machine’s speed, especially when learning, and utilize the speed control. Keep the machine clean and oiled as per the manual’s instructions to prevent malfunctions. Ensure children and unauthorized personnel are kept away from the operating machine. Read all instructions thoroughly before use, and heed all warnings to ensure a safe and enjoyable sewing experience.
Resources and Support (Manual Downloads, Warranty)
Access a comprehensive range of support resources for your Singer sewing machine. Download instruction manuals for various models, including the 15-91, 15K, and 15K1, directly from the Singer website. Explore detailed guides for the Heavy Duty 4452 and other series.
Find warranty information and terms & conditions to understand your machine’s coverage. Utilize expert support channels for assistance with troubleshooting, machine updates, and stitch guides. Singer provides resources for both new and legacy machines, ensuring long-term usability. Register your machine online to streamline warranty claims and receive important product updates. Explore frequently asked questions and online forums for community-based support. Singer is committed to keeping your sewing machine running smoothly, offering a wealth of resources for every skill level and machine type.