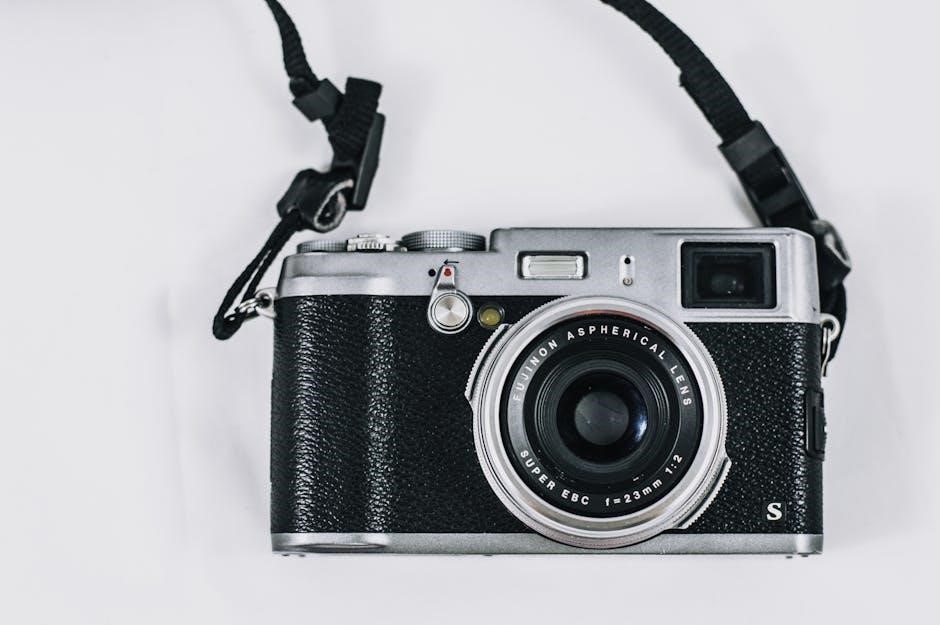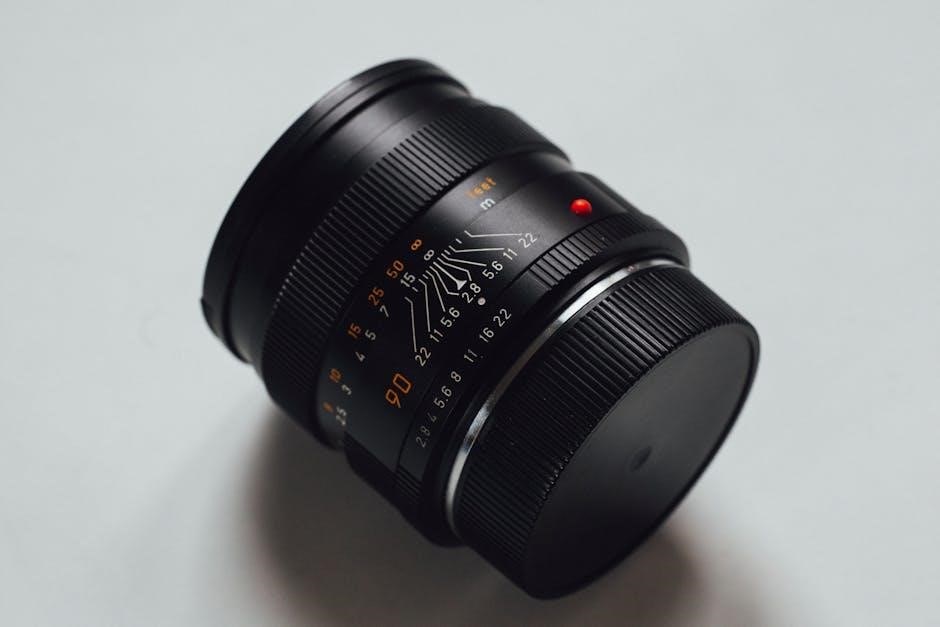
Manual photography offers creative control by adjusting aperture, shutter speed, and ISO. A cheat sheet simplifies these settings, helping photographers master the exposure triangle for stunning results.

1.1 What is Manual Mode in Photography?
Manual mode in photography gives you complete control over your camera settings, allowing you to adjust aperture, shutter speed, and ISO independently. Unlike auto modes, it lets you decide how your image looks, ensuring creative freedom. This mode is ideal for capturing specific effects, such as blurring motion or freezing it, and controlling depth of field. A manual photography cheat sheet is a great tool for beginners, as it provides a quick reference for understanding how these settings work together. By mastering manual mode, you can achieve precisely the results you envision, whether in portraits, landscapes, or any other genre of photography.
1.2 Why Shoot in Manual Mode?
Shooting in manual mode gives you complete creative freedom, allowing you to control every aspect of your photos. It enables you to balance the exposure triangle—aperture, shutter speed, and ISO—to achieve your desired results. Whether you want to freeze fast-moving subjects, create motion blur, or control depth of field, manual mode puts you in charge. It’s especially useful in challenging lighting conditions where auto modes may fail. A manual photography cheat sheet can guide you in mastering these settings, helping you understand how to adjust them for portraits, landscapes, and more. This mode is essential for photographers seeking precision and artistic expression in their work.

Understanding the Exposure Triangle
The exposure triangle—aperture, shutter speed, and ISO—forms the foundation of manual photography. Together, they control light and exposure, ensuring perfectly balanced photos in any lighting condition.
2.1 Aperture: Understanding F-Stop and Depth of Field
Aperture, measured in f-stops, regulates light entry and depth of field; A lower f-stop (e.g., f/2.8) means a larger aperture, creating a shallow depth of field with blurred backgrounds. Conversely, a higher f-stop (e.g., f/16) results in a smaller aperture, keeping more of the image in focus, ideal for landscapes. Understanding this balance is crucial for controlling the visual impact of your photos, whether isolating subjects or capturing expansive scenes with sharp details throughout. This fundamental aspect of manual photography is essential for achieving desired artistic effects in various shooting scenarios.
2.2 Shutter Speed: Controlling Motion and Blur
Shutter speed determines how long the camera’s shutter remains open, influencing motion and blur. Faster speeds (e.g., 1/1000th of a second) freeze action, ideal for sports or wildlife. Slower speeds (e.g., 1 second) create motion blur, adding artistic effects to moving subjects like waterfalls or cars. A medium speed (e.g., 1/125th) balances sharpness and subtle blur. Understanding shutter speed is key to capturing dynamic scenes or achieving creative effects. It works in harmony with ISO and aperture to maintain proper exposure, allowing photographers to express their vision effectively in various lighting conditions and scenarios. Mastering shutter speed enhances control over motion and adds depth to images. Always experiment to find the perfect balance for your scene.
2.3 ISO: Sensitivity and Noise Management
ISO controls the camera’s sensitivity to light. Lower ISO values (e.g., ISO 100) are ideal for bright conditions, producing sharp images with minimal noise. Higher ISOs (e.g., ISO 6400) are used in low light but may introduce grain or digital noise. Balancing ISO with aperture and shutter speed is crucial for proper exposure. To minimize noise, use the lowest ISO necessary for the scene. Modern cameras handle high ISOs better, but noise reduction tools in editing software can also help. Understanding ISO sensitivity is vital for achieving clean, high-quality images in various lighting conditions while maintaining creative control over the exposure triangle.

Advanced Manual Photography Techniques
Mastering manual photography involves advanced techniques like white balance, metering modes, and focus control. These tools refine your creative vision and ensure precise, professional results every time.
3.1 White Balance: Capturing Accurate Colors
White balance ensures colors appear natural by adjusting the camera’s color temperature. Auto mode often fails in tricky lighting, but manual settings like ‘Daylight’ or ‘Tungsten’ provide accuracy. Using a gray card helps set custom white balance, enhancing color consistency. Understanding how different light sources affect hues allows photographers to capture scenes authentically. This technique is crucial for professional results, especially in portraits and product photography where color accuracy is key. A cheat sheet guide can offer quick reference for common lighting scenarios, helping photographers make informed adjustments for precise color representation in their images.
3.2 Metering Modes: Understanding Light Measurement
Metering modes determine how your camera measures light to set exposure. Common modes include Multi-Zone, Center-Weighted, and Spot Metering. Multi-Zone averages light across the scene, while Center-Weighted prioritizes the center. Spot Metering measures light from a specific area, ideal for high-contrast scenes. Understanding these modes ensures balanced exposures, especially in challenging lighting conditions like backlit subjects. A photography cheat sheet can guide you on selecting the right mode, helping you avoid overexposed highlights or underexposed shadows. Mastering metering modes enhances your control over lighting, enabling you to capture images with precision and creativity, whether in portraits, landscapes, or dynamic settings.
3.3 Focus Modes: Autofocus vs. Manual Focus
Focus modes determine how your camera achieves sharpness. Autofocus (AF) automatically adjusts the lens to focus on subjects, offering speed and convenience. Common AF modes include Single Shot for stationary subjects and Continuous for moving ones. Manual Focus (MF) allows you to adjust focus manually, ensuring precise control, especially in low-light or when AF struggles. A photography cheat sheet can help you choose the right mode, whether capturing portraits, landscapes, or dynamic scenes. Understanding focus modes enhances your ability to achieve sharp, professional-looking images by tailoring focus to your creative vision.

Mastering Depth of Field
Mastering depth of field involves understanding aperture settings and their impact on focus. A cheat sheet guides you in selecting the right f-stop for your desired effect, ensuring professional-looking results every time.
4.1 How Aperture Affects Depth of Field
A larger aperture (smaller f-stop number) creates a shallow depth of field, blurring the background and emphasizing the subject. Conversely, a smaller aperture (larger f-stop number) keeps more of the image in focus, ideal for landscapes. The aperture’s size directly influences how much light enters the lens and the sharpness of the scene. A cheat sheet helps photographers quickly determine the right f-stop for their desired effect, ensuring control over depth of field in various lighting conditions. This fundamental understanding is crucial for achieving professional-looking results in both portrait and landscape photography.
4.2 Practical Examples forPortrait and Landscape Photography
4.2 Practical Examples for Portrait and Landscape Photography
In portrait photography, use a large aperture (e.g., f/1.8 or f/2.8) to create a shallow depth of field, blurring the background and highlighting your subject. For landscapes, a small aperture (e.g., f/8 or f/11) ensures a deep depth of field, keeping both foreground and background sharp. A cheat sheet can guide these settings, helping photographers achieve desired effects. For example, in portraits, pair a wide aperture with a low ISO for natural lighting, while in landscapes, use a tripod and low ISO to avoid noise. Balancing these settings ensures crisp, well-exposed images in both genres, making manual mode more accessible and effective for photographers of all levels.
Quick Tips for Shooting in Manual Mode
Start with the exposure triangle, use a cheat sheet for guidance, and practice regularly. Adjust aperture, shutter speed, and ISO gradually to achieve desired results. Experiment with lighting and composition for unique shots, ensuring balanced settings for optimal clarity and creativity in your photos;
5.1 Common Mistakes to Avoid
- Ignoring the exposure triangle: Failing to balance aperture, shutter speed, and ISO can result in overexposed or underexposed images.
- Incorrect focusing: Not checking focus modes can lead to blurry subjects or unintended focal points.
- Overlooking white balance: Incorrect white balance settings can cause unnatural colors in photos.
- Not using metering modes properly: Relying solely on default metering can mislead exposure adjustments.
- Forgetting to adjust ISO: High ISO in bright light increases noise, while low ISO in dark conditions can underexpose images.
Avoid these common pitfalls by using a cheat sheet to guide your manual mode adjustments and ensure well-balanced, professional-looking photos.
5.2 Essential Camera Settings Cheat Sheet
A cheat sheet simplifies manual photography by providing quick references for key settings:
- Aperture (f-stop): Lower f-stop (e.g., f/2.8) for shallow depth of field; higher (e.g., f/11) for more focus.
- Shutter Speed: Faster speeds (1/1000th of a second) freeze motion; slower speeds (1 second) create blur.
- ISO: Use low ISO (100-400) for bright lighting; high ISO (6400+) in low light, but watch for noise.
- White Balance: Adjust to match lighting conditions for accurate colors.
- Metering Mode: Use spot metering for precise light measurement; evaluative for balanced exposure.
These settings help photographers control light, focus, and motion effectively, ensuring well-exposed and creatively captured images.
Mastery of manual photography requires practice and understanding of the exposure triangle. A cheat sheet is a valuable tool to guide settings and enhance creativity effectively.
6.1 Final Thoughts on Mastering Manual Photography
Mastery of manual photography is a journey that requires patience, practice, and a deep understanding of the exposure triangle. A photography cheat sheet is an invaluable resource, simplifying complex settings like aperture, shutter speed, and ISO. By balancing these elements, photographers can achieve creative control and consistency in their work. The key to success lies in experimentation and adaptability, as every scene presents unique challenges. With dedication and the right tools, photographers can unlock their camera’s full potential and capture stunning, professionally styled images. Remember, manual photography is not just about technical skills—it’s about telling a story through light and composition.